The Real Goal of HVAC Maintenance, Fewer Surprises on the Hottest and Coldest Days
HVAC maintenance is really about avoiding bad surprises when your system is under the most stress. On the hottest summer...
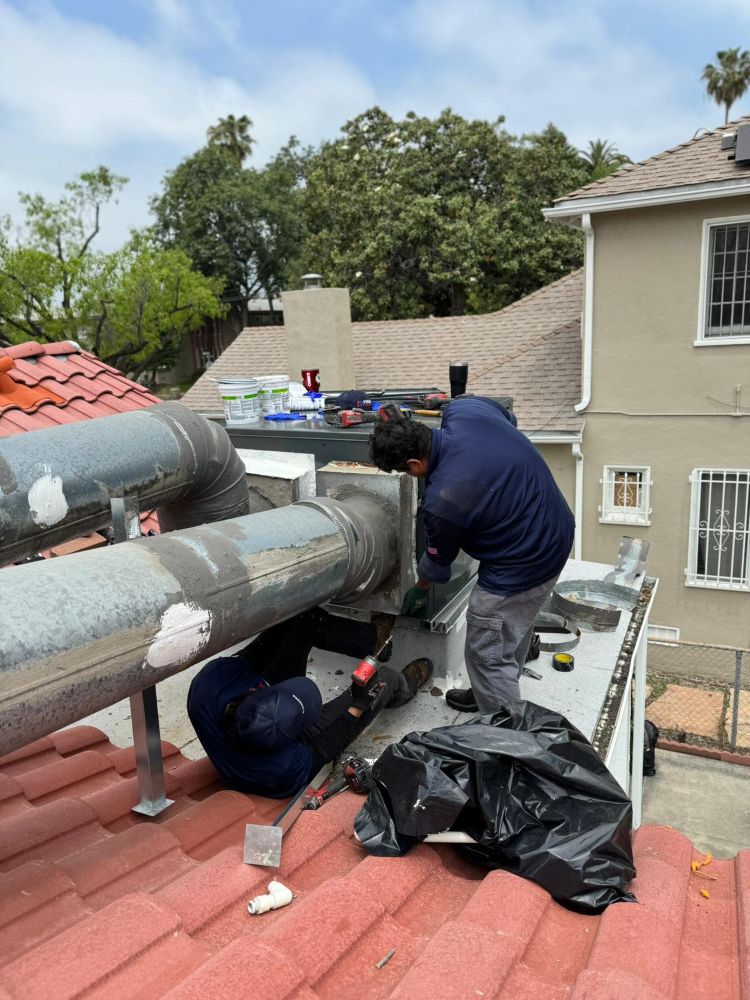
Dryer Vent Installation In Pasadena by Pioneers Heating & Air boosts airflow and safety with code ready vent routing and clean workmanship. Book today

Dryer vent installation is the work of routing your dryer’s hot, moist exhaust safely outdoors, and Pioneers Heating & Air handles it cleanly for Pasadena homes.
Dryer Vent Installation in Pasadena helps your dryer move air the right way, so moisture and lint do not linger indoors. Pioneers Heating & Air plans Dryer Vent Installation in Pasadena with practical routing, code ready materials, and tidy connections. Dryer Vent Installation in Pasadena also helps prevent the why are these towels still wet problem.
Need Help? Call Pioneers Heating & Air near you
Dryer vent installation sets up a direct exhaust path that protects airflow, comfort, and safety.
A dryer is a heater plus a strong fan. It pulls room air in, heats it, tumbles it through clothes, then pushes that warm, damp air out through the vent. If that exhaust cannot get outside easily, the dryer struggles and the laundry room gets hot and humid.
Dryer Vent Installation is not just hooking up a tube and calling it done. A proper install uses the right duct material, a sensible route, tight connections, and an exterior termination hood that opens freely. It also avoids dumping exhaust into places it should never go, like an attic, crawl space, garage, or wall cavity.
If you are not sure where your dryer exhaust exits, you are not alone. Many people only notice the vent when drying times get longer or lint shows up in odd places.
For airflow focused work around the home, homeowners often pair vent improvements with a ventilation check such as Ventilation Upgrades.
You may need a new vent install when drying is slow, the laundry room feels sticky, or the old setup looks questionable.
Dryers usually give warnings before bigger problems show up. The trick is knowing what to look for and acting before the vent line becomes a lint storage tube.
If you pulled your dryer out a few inches right now, would the vent line stay smooth, or would it fold like a cheap garden hose. That one detail tells us a lot.
If you are seeing warning signs, it can help to compare symptoms with a Dryer Vent Repair evaluation when the issue is damage, crushing, or a leaking connection rather than a full new route.
Most dryer vent issues start with long runs, too many turns, or the wrong duct materials.
Airflow likes short and simple. Every extra foot of duct, every elbow, and every sag makes the fan work harder. Add lint and moisture to that, and restrictions build faster.
A dryer vent should behave like a smooth exhaust lane, not a maze. If your current setup looks like it was assembled during a late night rush, you are probably right.
When airflow restrictions show up in other areas of the home, our team can also check related airflow issues with HVAC Troubleshooting & Diagnostics.
Dryer vent routing should be planned around the shortest safe path to the outdoors.
The best vent route is usually the most direct route that can be installed cleanly and serviced later. In real homes, framing, plumbing, electrical, cabinets, and doorways can limit options. That is where planning matters.
Does your vent exit near a window, patio seating, or a narrow side yard walkway. If so, the location of the termination hood matters more than you might think.
For homes where duct routing also affects comfort, some customers add a broader airflow review such as Airflow Balancing.
Our visit starts by checking your layout, then we install the vent with clean connections and airflow in mind.
We treat dryer venting like what it is, an airflow job. As an HVAC contractor, we pay close attention to restrictions, turns, and leaks that steal performance.
We also keep the workspace neat. Lint confetti belongs in the lint screen, not on your floor.
If you want a broader system check at the same time, we can coordinate with an HVAC Inspection during your visit.
We install vents for laundry rooms, closets, garages, and remodel changes without making your space harder to use.
Dryers end up in all kinds of locations in Pasadena, CA homes. Some are in a dedicated laundry room. Others are tucked into a hallway closet, a kitchen adjacent nook, or a garage corner. Each layout has its own venting challenges.
If your laundry room was created by converting another space, it is worth taking a close look at the venting. Conversions sometimes leave behind vent routes that were never meant to be long term.
When remodel work affects other airflow paths in the home, services like Ductwork Inspection can help confirm nothing else was compromised.
Need Help? Call for Heating & Air Services
The right duct materials make a real difference because lint and heat punish bad choices.
Dryer exhaust is warm, moist, and full of fine lint. That mix is hard on cheap materials and messy installations. Using proper metal ducting and stable fittings helps keep the vent line smooth and serviceable.
| Vent material | Where it fits best | What to watch out for |
|---|---|---|
| Rigid metal duct | Main runs where straight routing is possible | Needs planning to fit through tight areas |
| Semi rigid metal duct | Short dryer to wall connection | Can kink if the dryer is pushed back too hard |
| Foil flex duct | Best avoided for most permanent installs | Sags easily and traps lint fast |
| Plastic duct | Best avoided | Not suited for dryer heat and lint |
If you are unsure what you have, we can identify it quickly. Many people discover they have foil or plastic only after pulling the dryer out for the first time in years.
To keep the new setup performing well over time, many homeowners schedule periodic Dryer Vent Cleaning after installation.
Exterior termination placement matters because the hood has to open, stay clear, and keep pests out.
The exterior hood is where the dryer exhaust leaves your home. It should open easily during a cycle and close when the dryer is off. If it is blocked, screened, or placed where lint collects, airflow drops.
If your outside hood has a fine screen, it can collect lint fast. That screen may look like a good idea until it turns into a lint net. A better hood setup helps reduce repeat clogs.
For general background on lint and vent safety, you can review guidance from the US Consumer Product Safety Commission.
Install time is usually manageable, but access, wall type, and duct path can add steps.
Many dryer vent installs can be completed in a single visit. Time can increase when the duct path is hard to reach or when the home layout forces a longer route.
We will explain the plan before work begins. If something changes once we open an access point, we talk it through, then proceed with the safest path forward.
If access issues tie into other mechanical or comfort concerns, we can also align the visit with HVAC Maintenance to reduce repeat appointments.
Safety is the point because a restricted vent can trap heat and push lint where it should not go.
A dryer should exhaust heat and moisture outside. If the vent is restricted, heat can build up and lint can collect in the duct, behind the dryer, or inside the laundry area. Nobody wants their laundry room acting like a sauna.
If you have ever thought, This dryer feels angry today, you may be right. A struggling dryer often points back to poor venting.
If urgent conditions appear alongside heating or cooling issues, you may also need Emergency HVAC Services.
You can prepare in a few minutes by clearing access and sharing what you have noticed.
A little prep helps the work go faster and keeps your home comfortable during the visit. If your dryer is in a tight closet, access matters a lot.
If moving the dryer is tough, do not strain yourself. Just tell us what you can and cannot move, and we will work with it.
If you also want to address indoor air concerns during the same visit, ask about options like Air Duct Cleaning.
After installation, simple habits keep airflow steady and help you spot issues early.
A well installed vent is a strong start, but lint still happens. The goal is to keep lint moving out instead of collecting in the duct.
If drying times suddenly get worse, do not ignore it. That is usually the first sign airflow is dropping again.
To keep airflow and efficiency steady across your whole system, some homeowners add a seasonal HVAC Tune Up.
Pasadena homes often need smart vent solutions because layouts range from older builds to newer remodels.
Pasadena, California has a mix of home styles, additions, and updated interiors. Laundry areas may be original to the house or added later in a spot that was not planned for venting.
Dryer Vent Installation in Pasadena should fit your specific layout, not force your home to fit the vent. We aim for a route that performs well and stays serviceable.
If your project includes broader home envelope or airflow upgrades, services like Attic Air Sealing can support comfort improvements in CA homes.
Homeowners choose Pioneers Heating & Air because we focus on airflow details and clean, practical workmanship.
Dryer venting is simple on paper and easy to get wrong in real life. We approach it with an HVAC mindset, focusing on airflow, restrictions, and secure connections that stay put.
Do you want us to verify where your vent exits and whether the hood is actually opening during a cycle. That quick check often solves the mystery.
To learn more about our team, you can visit our About Us page.
Scheduling is simple if you are ready to improve drying performance and get exhaust going outdoors the right way.
Dryer Vent Installation in Pasadena is a practical upgrade that supports safer operation, steadier drying, and less mess around the laundry area. If you are installing a new dryer, relocating laundry, or replacing a questionable vent run, we are ready to help.
Call (626) 217-0559 or use our Contact Us page to book service with Pioneers Heating & Air in Pasadena, California.
HVAC maintenance is really about avoiding bad surprises when your system is under the most stress. On the hottest summer...
If the heat is running but a room still feels cold, your system is usually waving a little red flag....
If your home has weak airflow, hot and cold spots, extra dust, or noisy returns, your ductwork may be the...

